Brose motors drive through a belt, which gives them a very natural feel. The belt is also their weak point: Brose has released several belt revisions and software updates to make it last longer.
Belts can wear out and show visible damage that eventually ends in a rupture, but they can also break without warning. A belt that wears slowly also fills the motor with belt particles, which over time can damage the plastic planetary gears. This guide was written by the technicians at BiciFix and uses the method we have used to repair hundreds of motors. It applies to both the Brose Aluminium motors (Specialized Turbo Gen1) and the Brose S Mag magnesium motors (Specialized Turbo Gen2 and Gen3).
Video: belt change in our workshop
The video shows the complete belt change on a Brose motor (in Spanish).
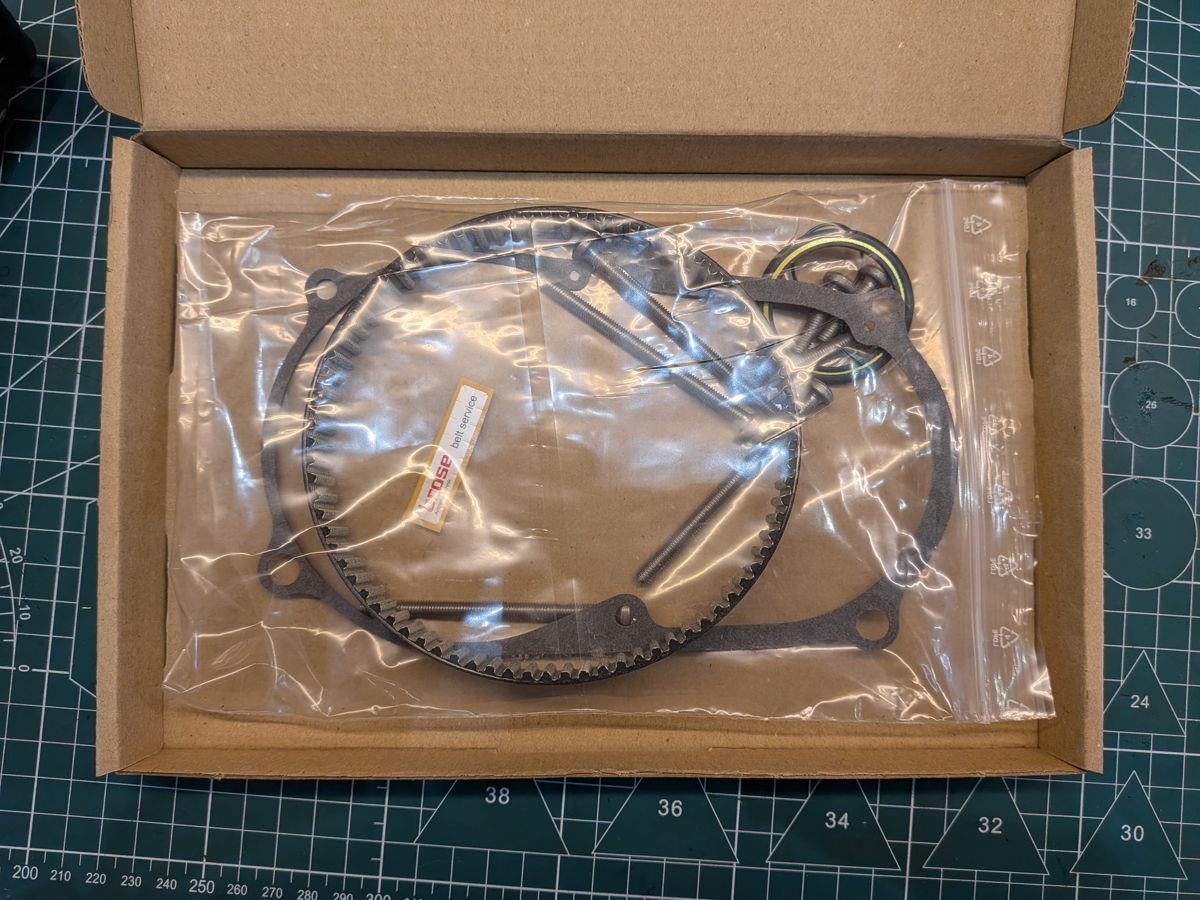
The official Brose belt maintenance kit for Aluminium motors contains a belt, cover seal, grub screw, O-ring, extra sealing washer, a new guarantee seal and a new set of housing screws. Some of the first Brose motors left the factory without the extra sealing washer or the O-ring: you can safely add them and improve the motor’s protection. The Brose belt replacement kit for Magnesium motors contains the same parts, with the matching gasket and new single-use M5x22 and M5x73 housing screws.
The Mag belt kit
Tools and materials
Torx T25 and hex size 3 screwdrivers
Extractor and a pointed tool (for example a small screwdriver)
Torque wrench with T25 bit for the housing screws: 4.3 Nm (Alu) or 2.0 and 2.5 Nm (Mag)
Lockring tool (the same as for Bosch Gen 4)
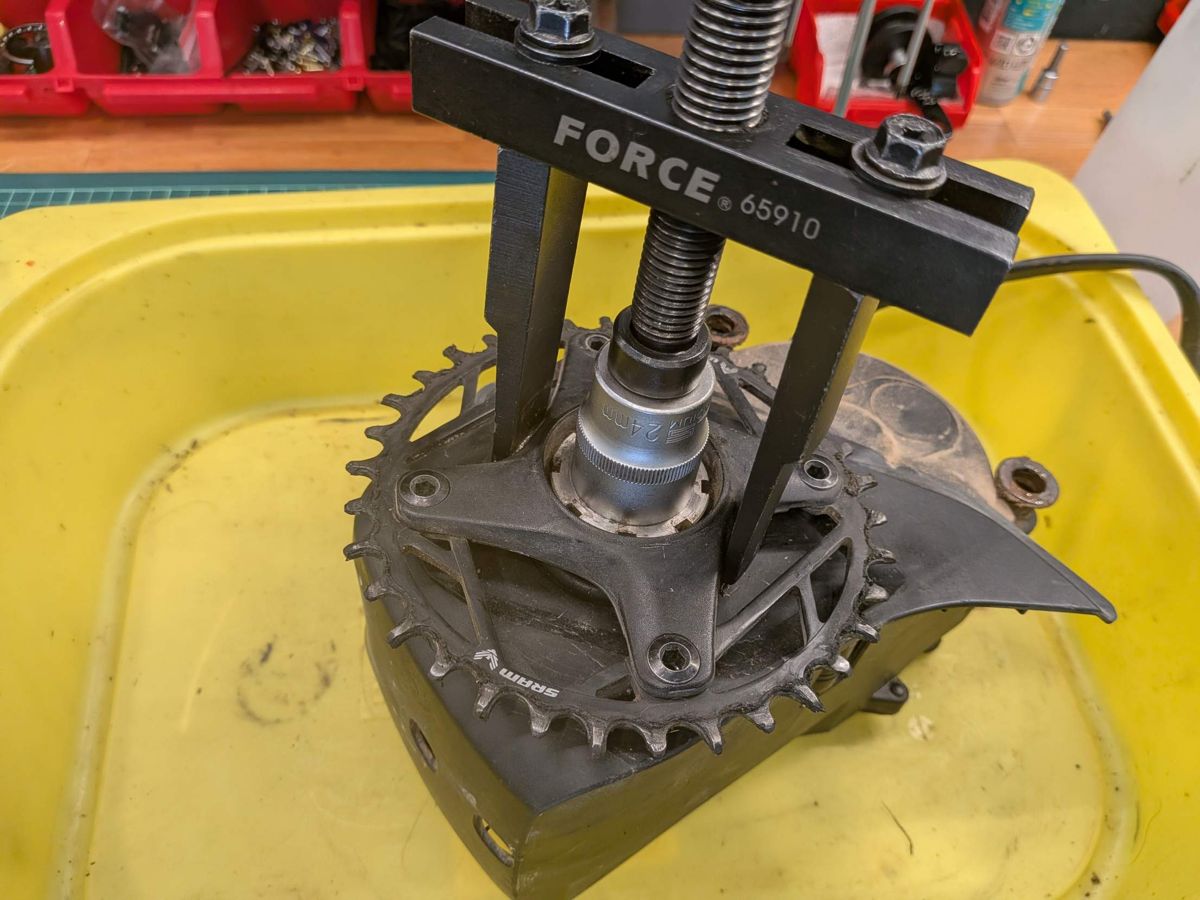
Two-arm puller and a 24 mm socket (or the special tool) to remove the chainring
Loctite 243 (blue, medium strength) for the grub screw and the housing screws
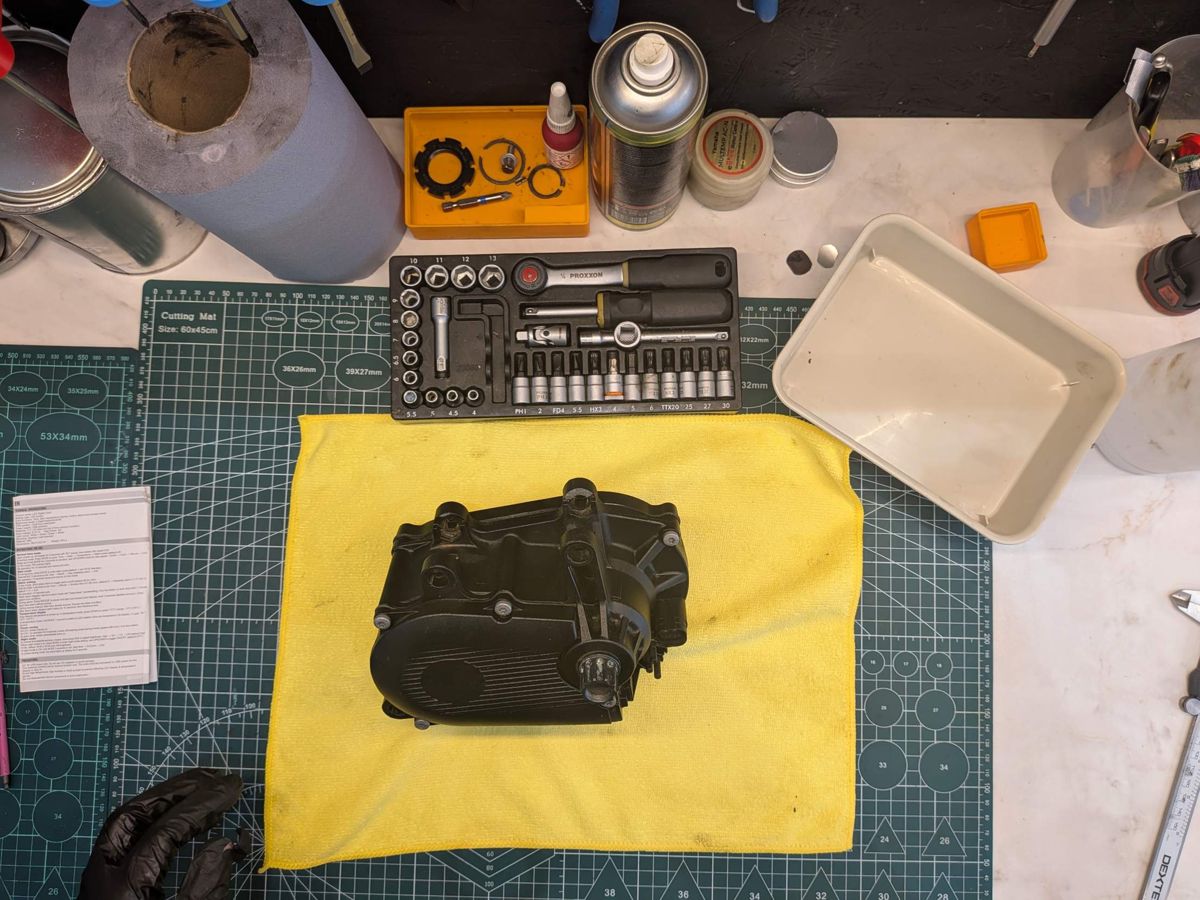
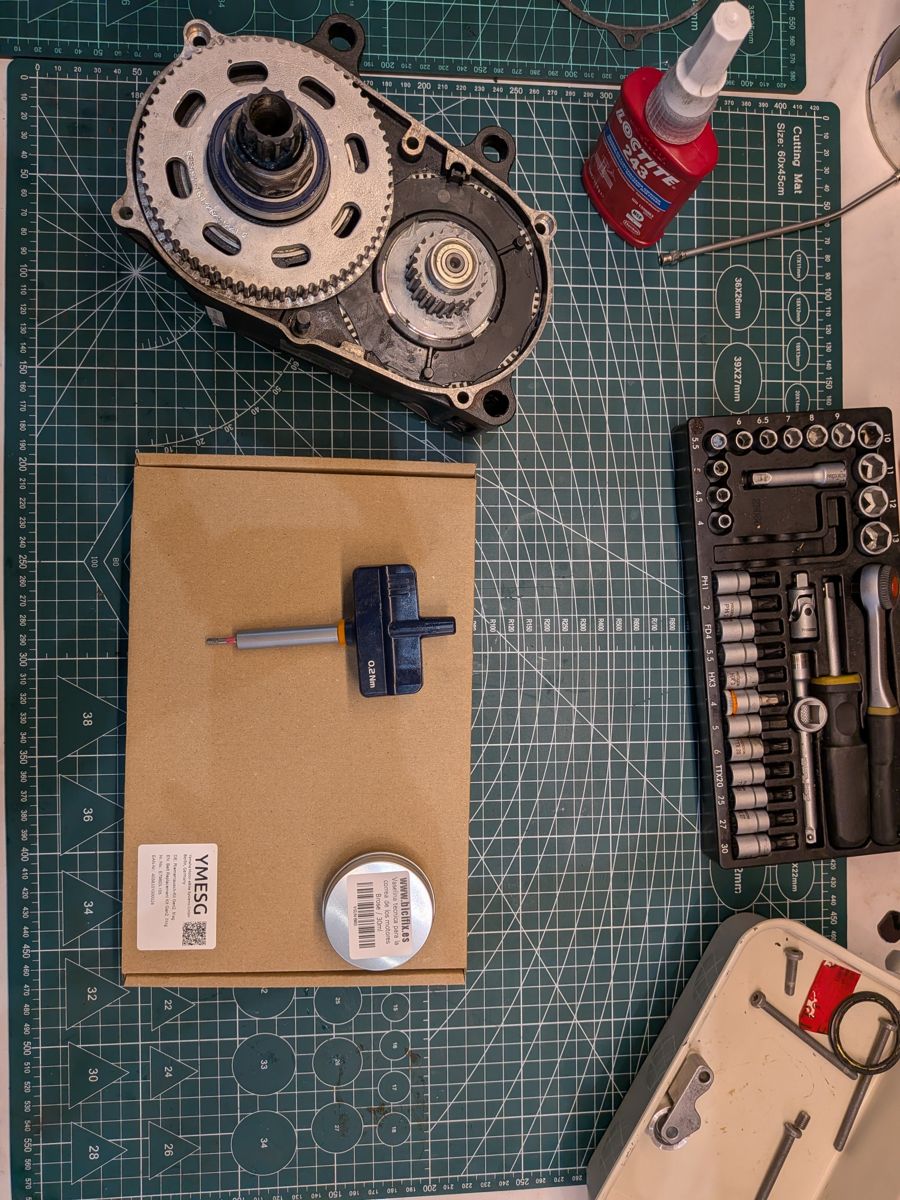
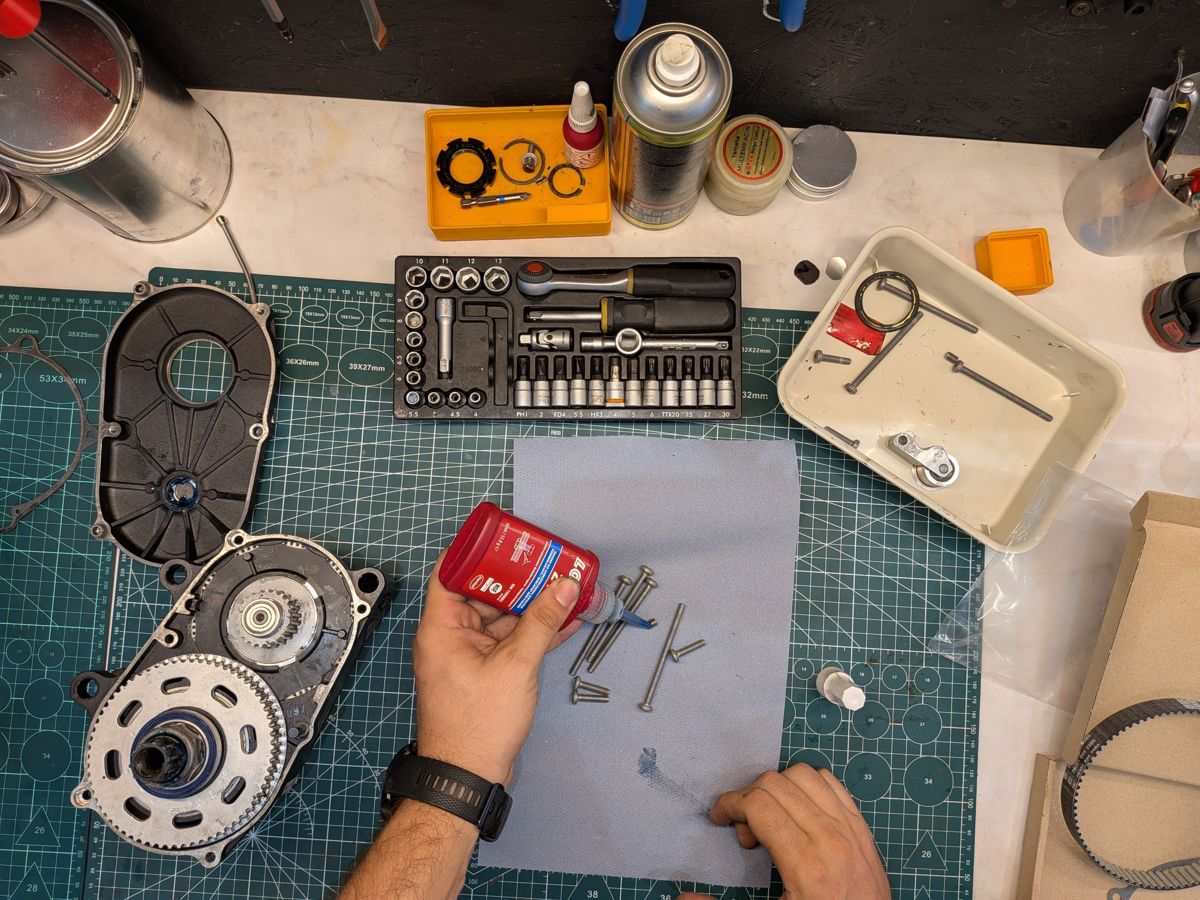
Clean motor and tools ready
A Brose belt service needs at least two torque wrenches: the belt tension cannot be set without a 0.2 Nm torque wrench.
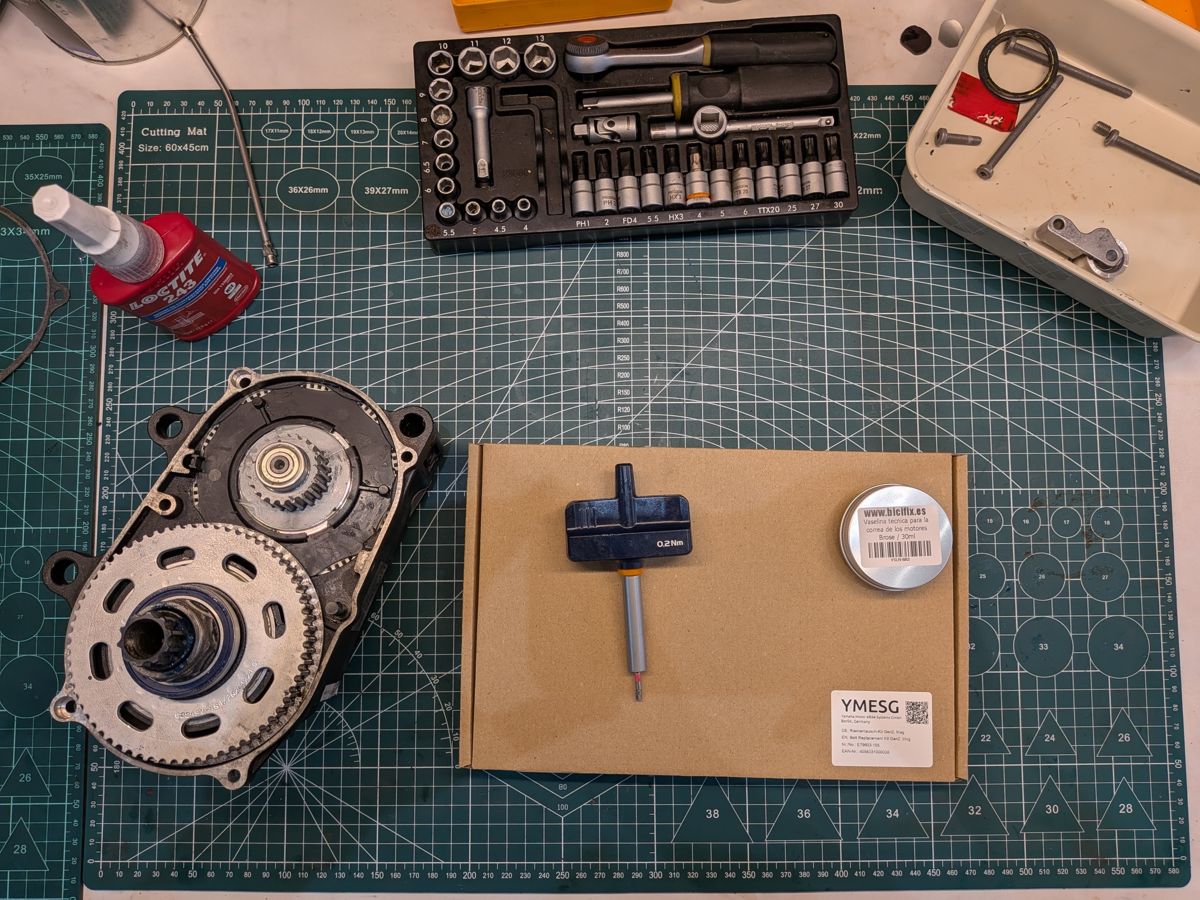
Kit, Loctite and the 0.2 Nm torque wrench
Before you start: remove the chainring
This guide starts with the motor out of the bike.
1. Remove the lockring and chainring
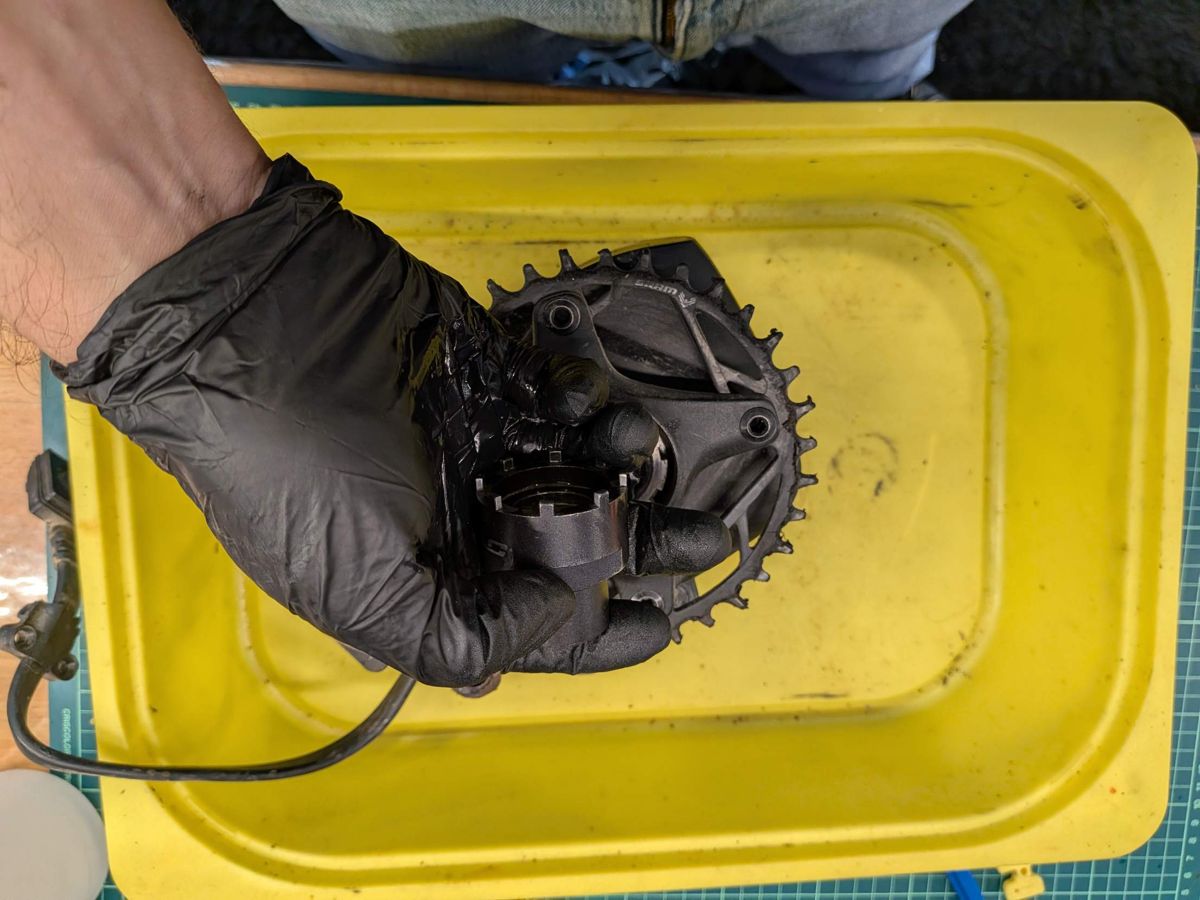
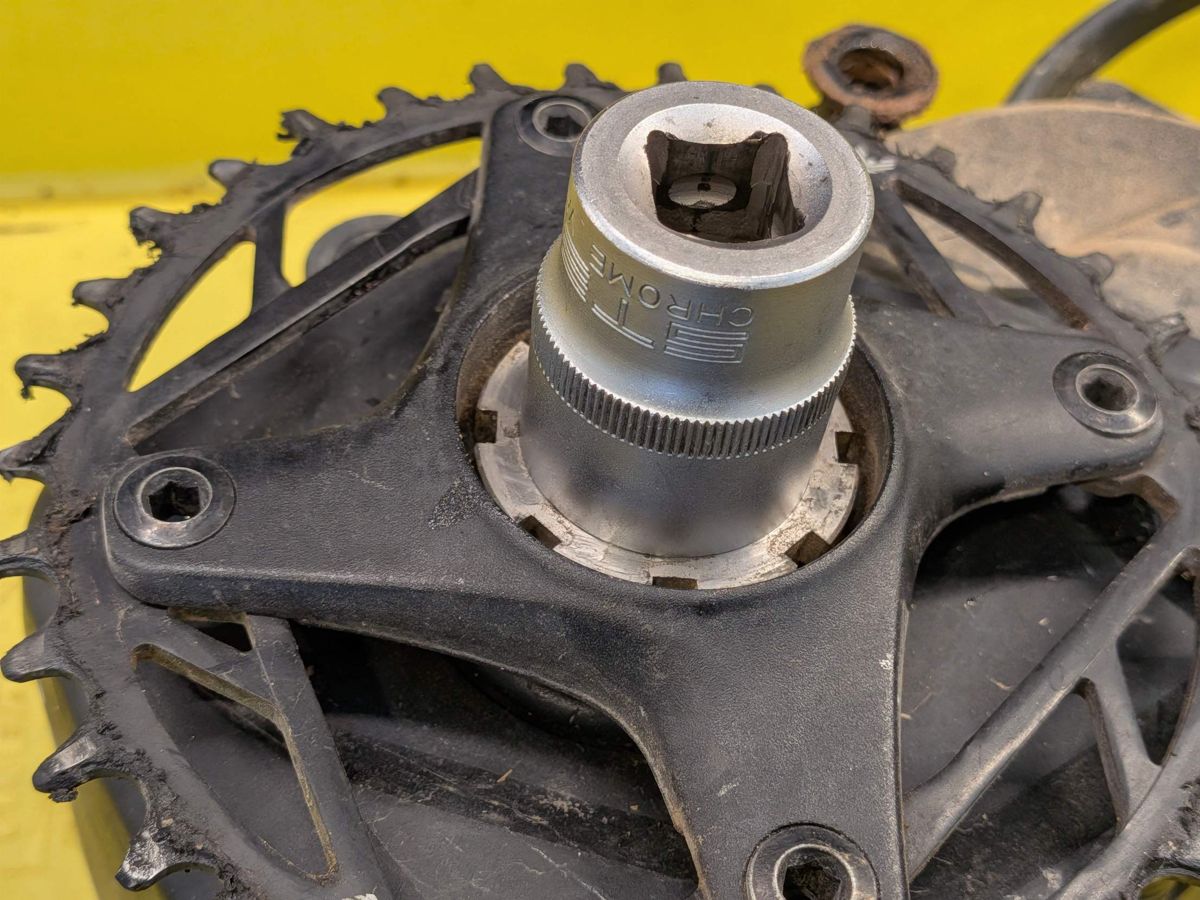
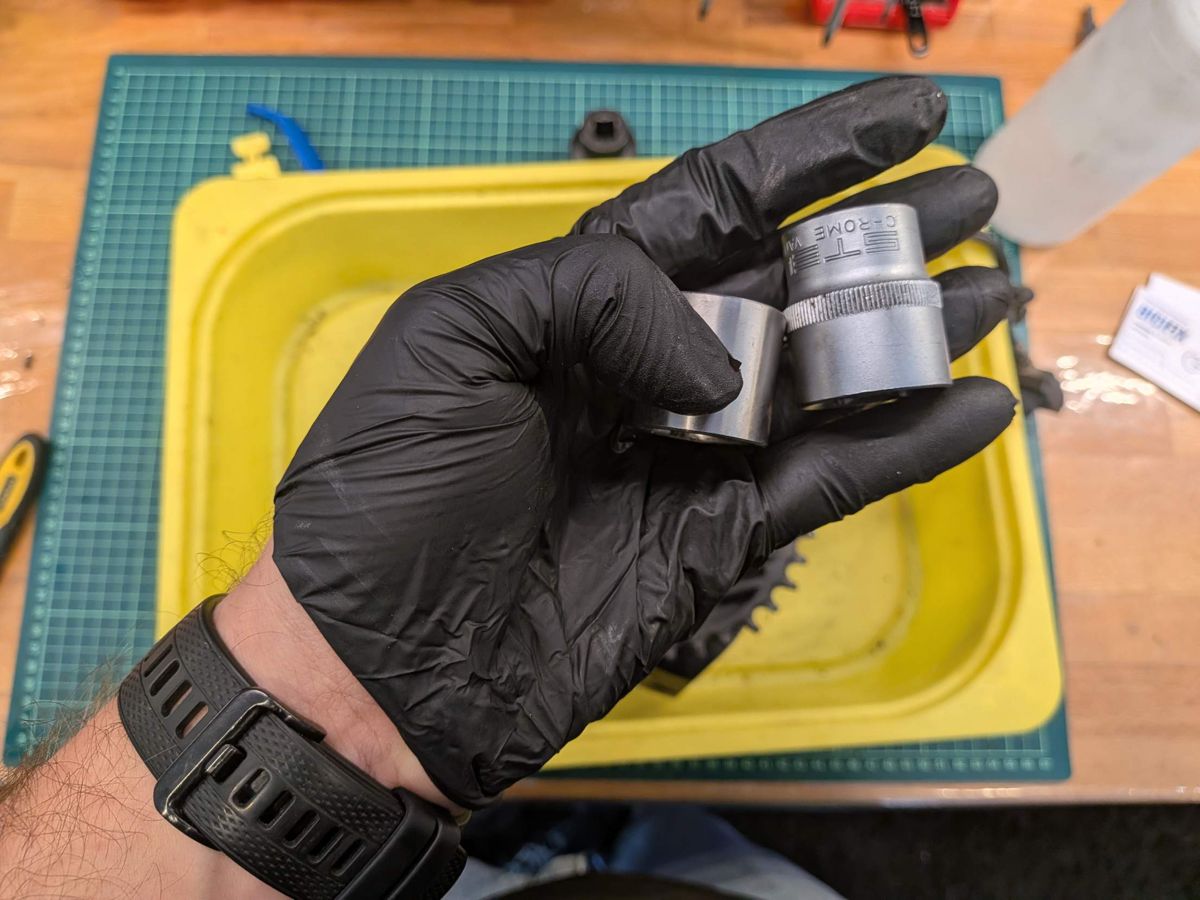
Unscrew the lockring with the lockring tool (the same tool as for Bosch Gen 4). Then put the special tool (thrust piece) on the end of the shaft and pull the chainring and spider off with a two-arm puller. No special tool? A 24 mm socket does the same job and protects the shaft just as well.
Unscrew the lockring with the lockring toolA 24 mm socket protects the shaftPulling the chainring with a two-arm pullerSpecial tool (left) or a 24 mm socket (right)
2. Clean the outside of the motor
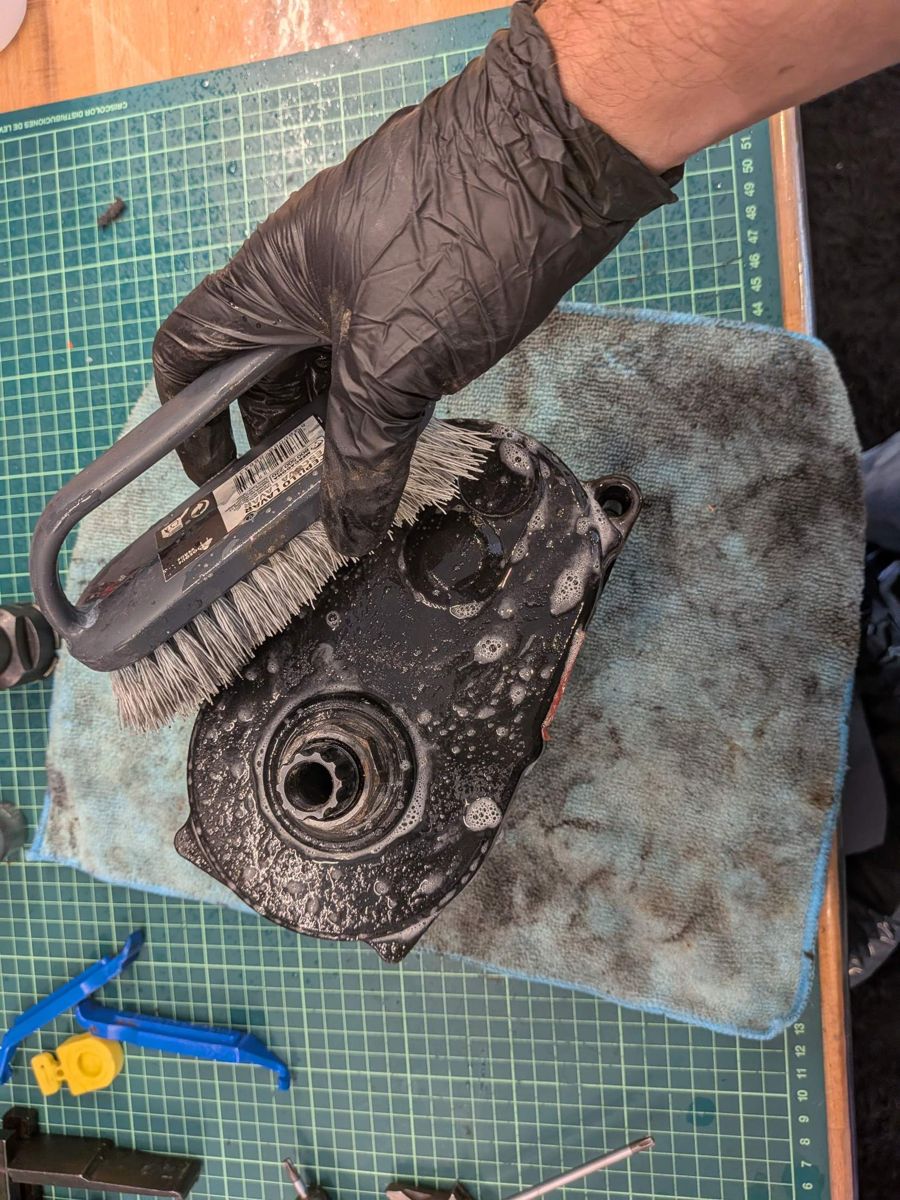
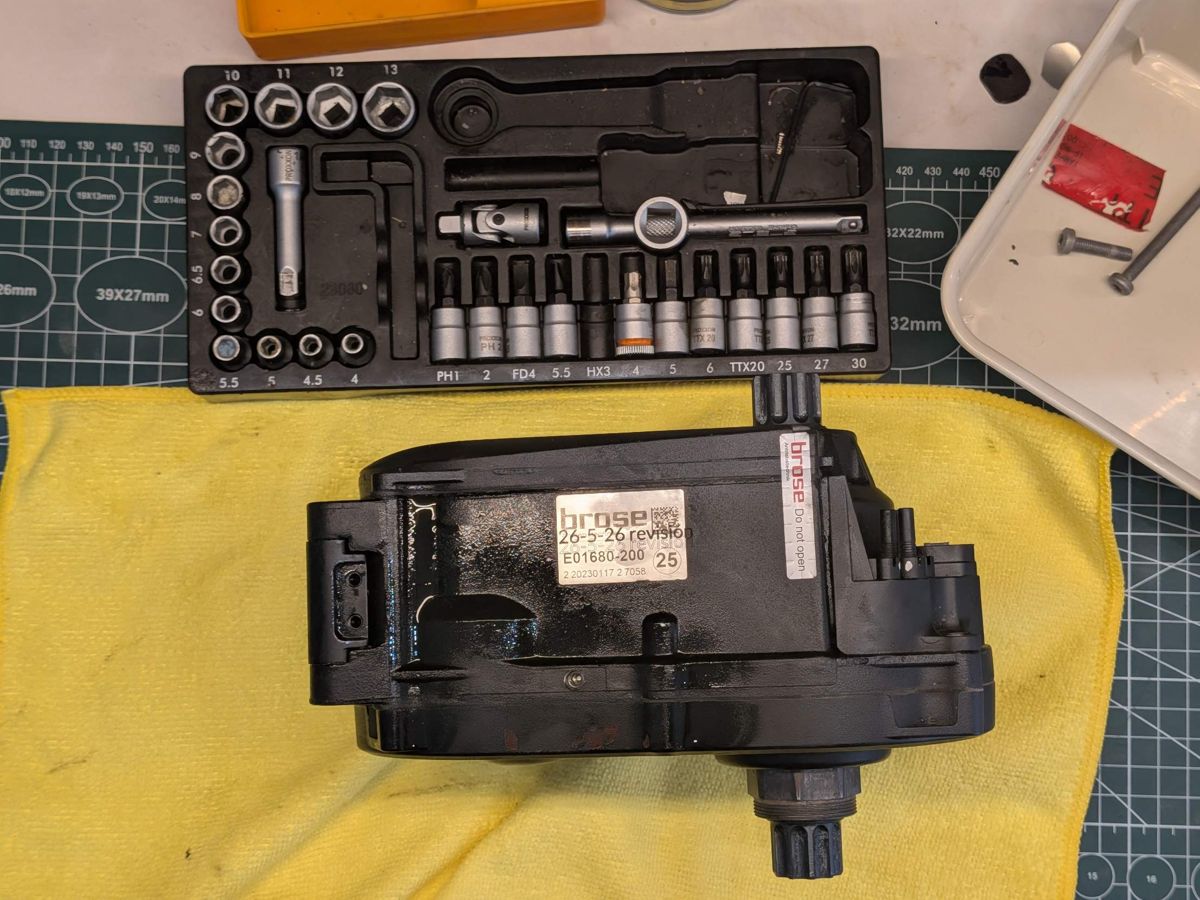
Clean the outside of the motor before you open it, so no dirt gets inside.
Clean the motor before opening it
Removing the old belt
1. Open the housing
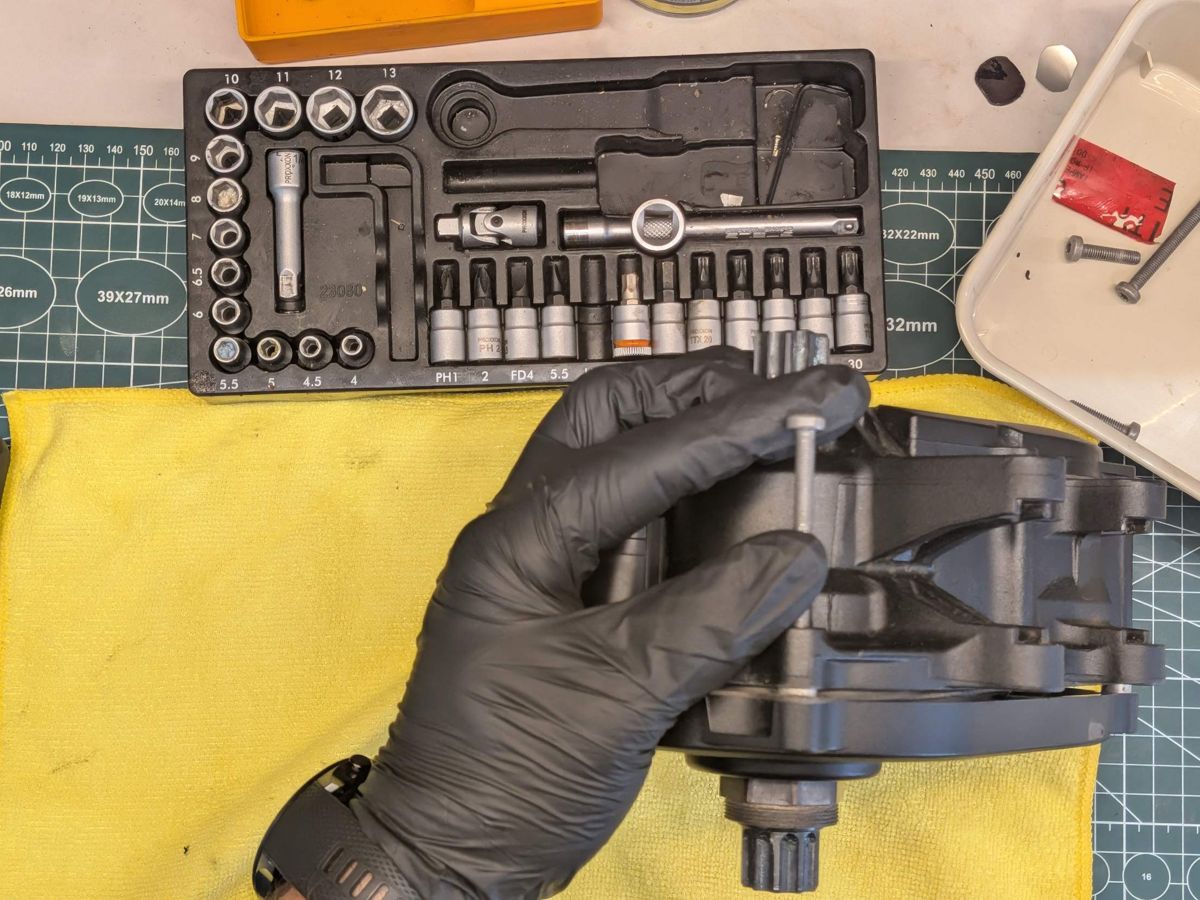
Loosen the housing screws without touching the centre screws on the electronics cover: two on Alu motors, one on Mag motors. Do not remove the electronics cover. On Alu motors you can reuse the housing screws or fit the new ones from our kit. On Mag motors the screws cannot be reused; new screws come with every kit.
Never take the electronics unit apart.
Guarantee seal removedUse one of the old screws to push the cover out
2. Remove the grub screw
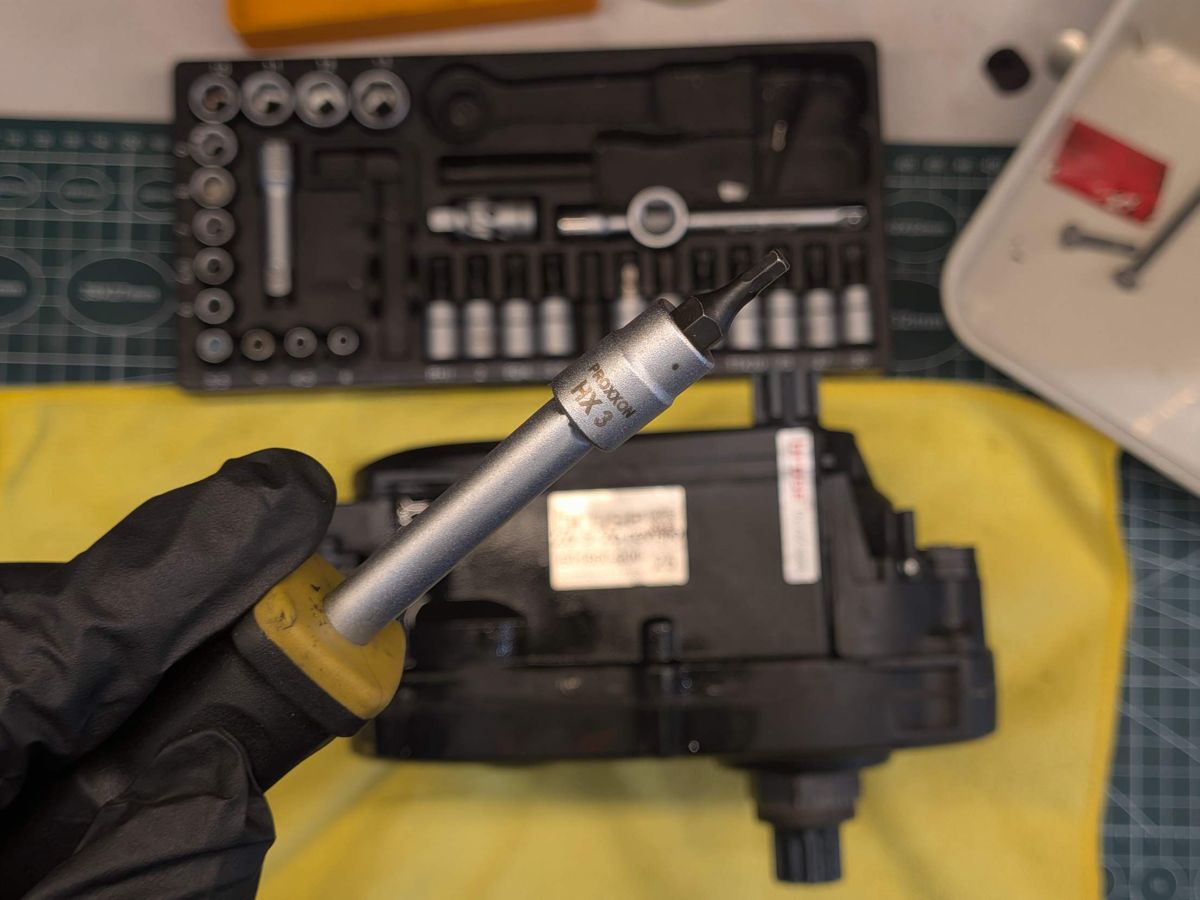
Turn it in and out a few times to break the thread lock, then take it out, clean the threaded hole and throw the screw away.
Hex 3 bit for the grub screw
3. Take off the cover
Turn the drive unit over and lift the cover. Don’t lever it with screwdrivers, especially on magnesium motors: use one of the old long screws to push the cover off.
4. Release the belt tension
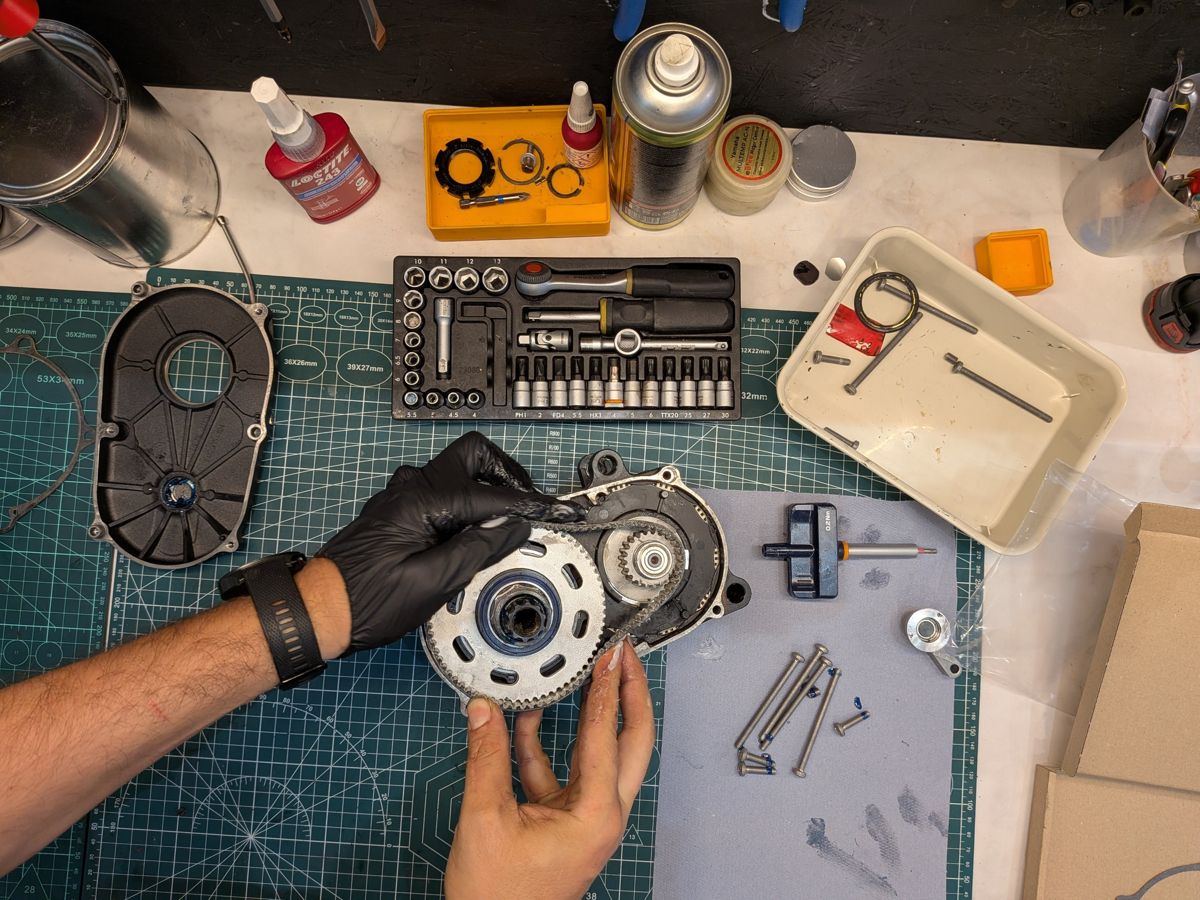
Release the belt tension by removing the tension pulley. Take the old belt out.
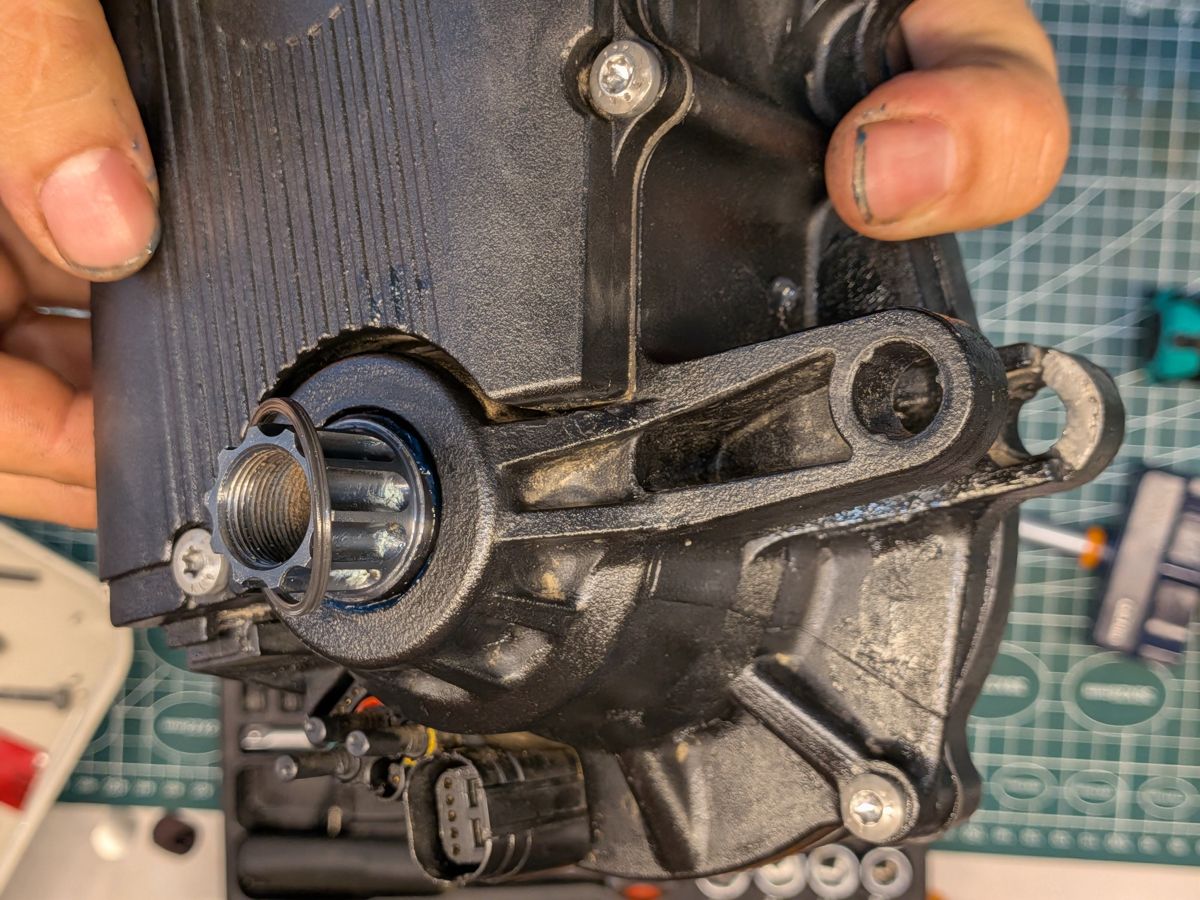
5. Remove the extra sealing washer
Remove the extra sealing washer from the shaft and throw it away. Use a pick or a small screwdriver.
6. Clean out belt dust
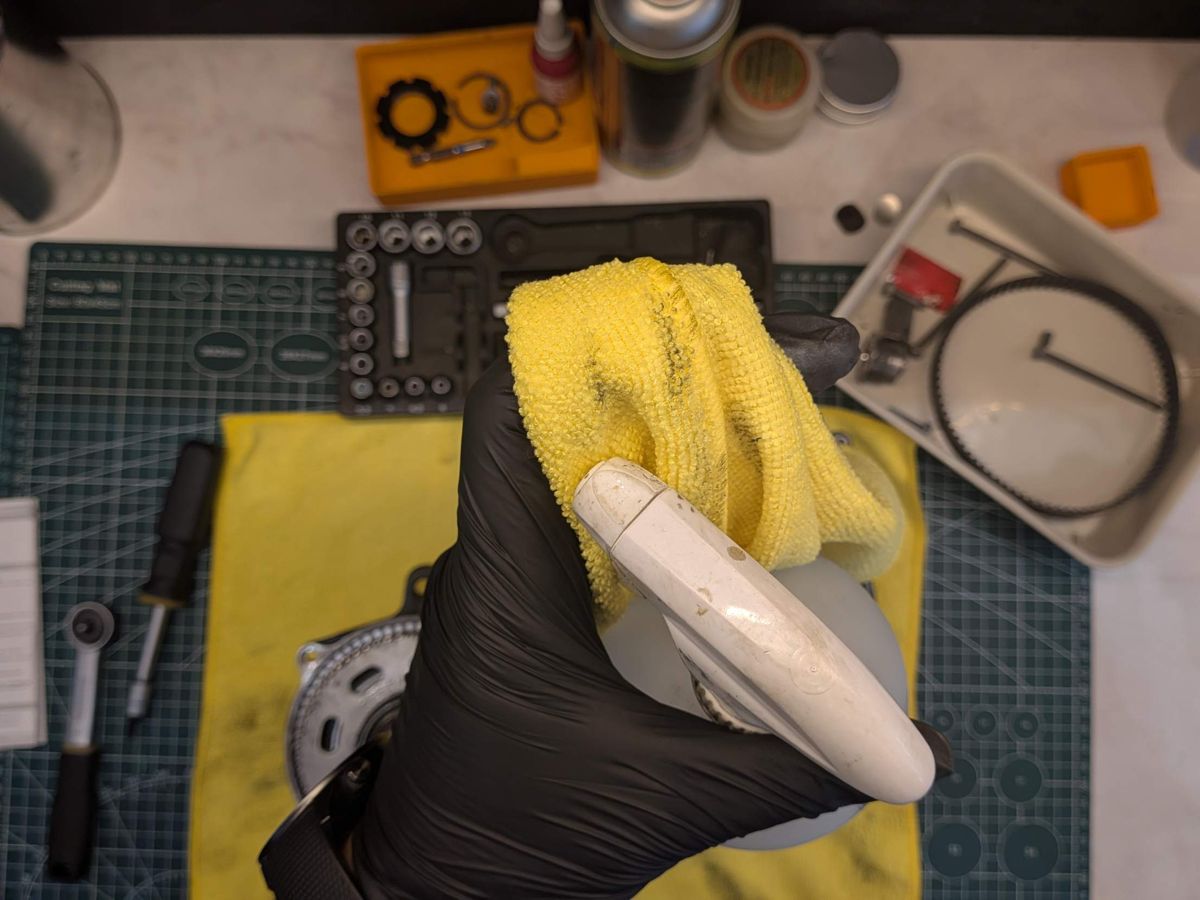
Clean out belt dust from the housing and the grub-screw hole. Do not use compressed air, and do not spray chemicals on the motor or the planetary gears: spray only onto your rag.
Wipe out belt dust, no compressed airMotor opened, new kit ready
BiciFix tip: leave the electronics unit in place. Removing it means unplugging a connector that is very hard to refit correctly, and a badly seated connector is one of the most common reasons a motor has problems or stops working after a belt change.
Fitting the new belt
1. Fit the new belt
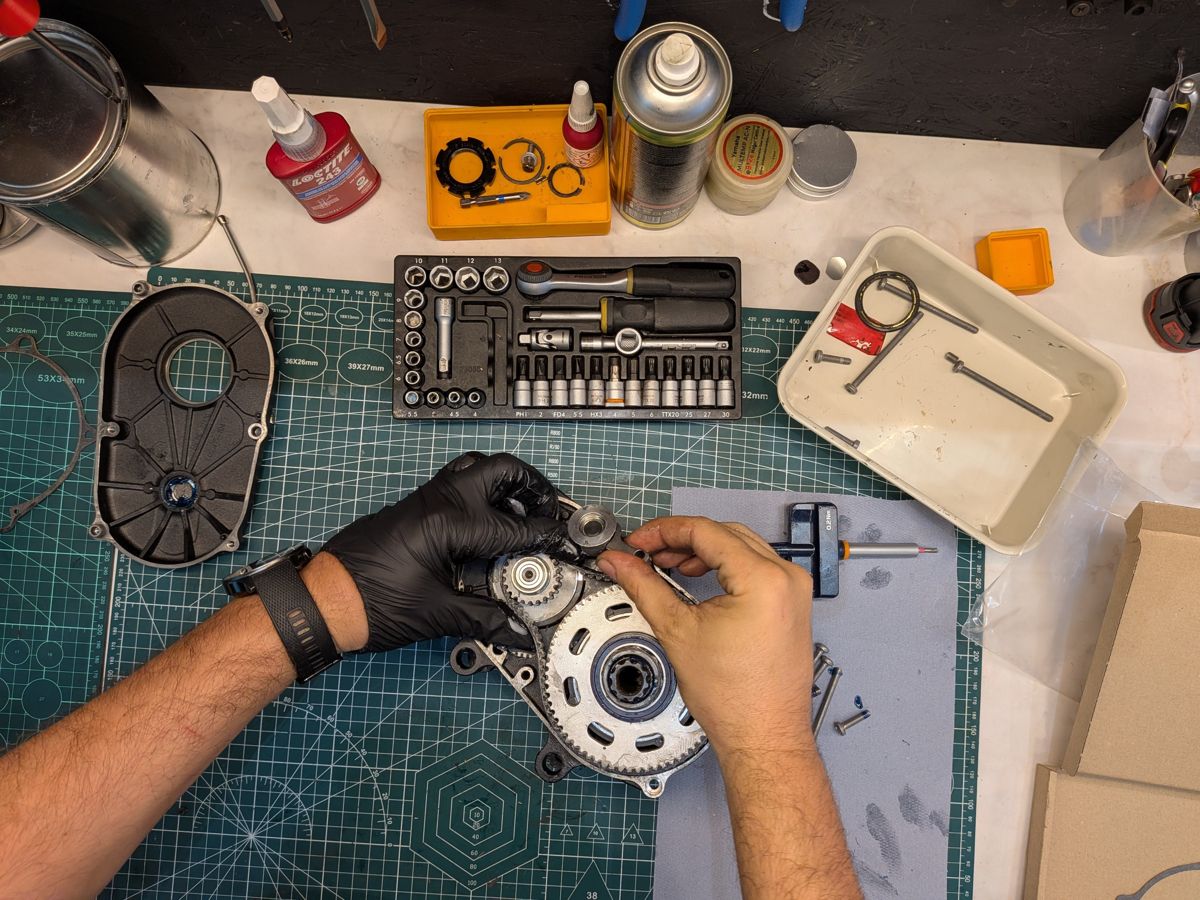
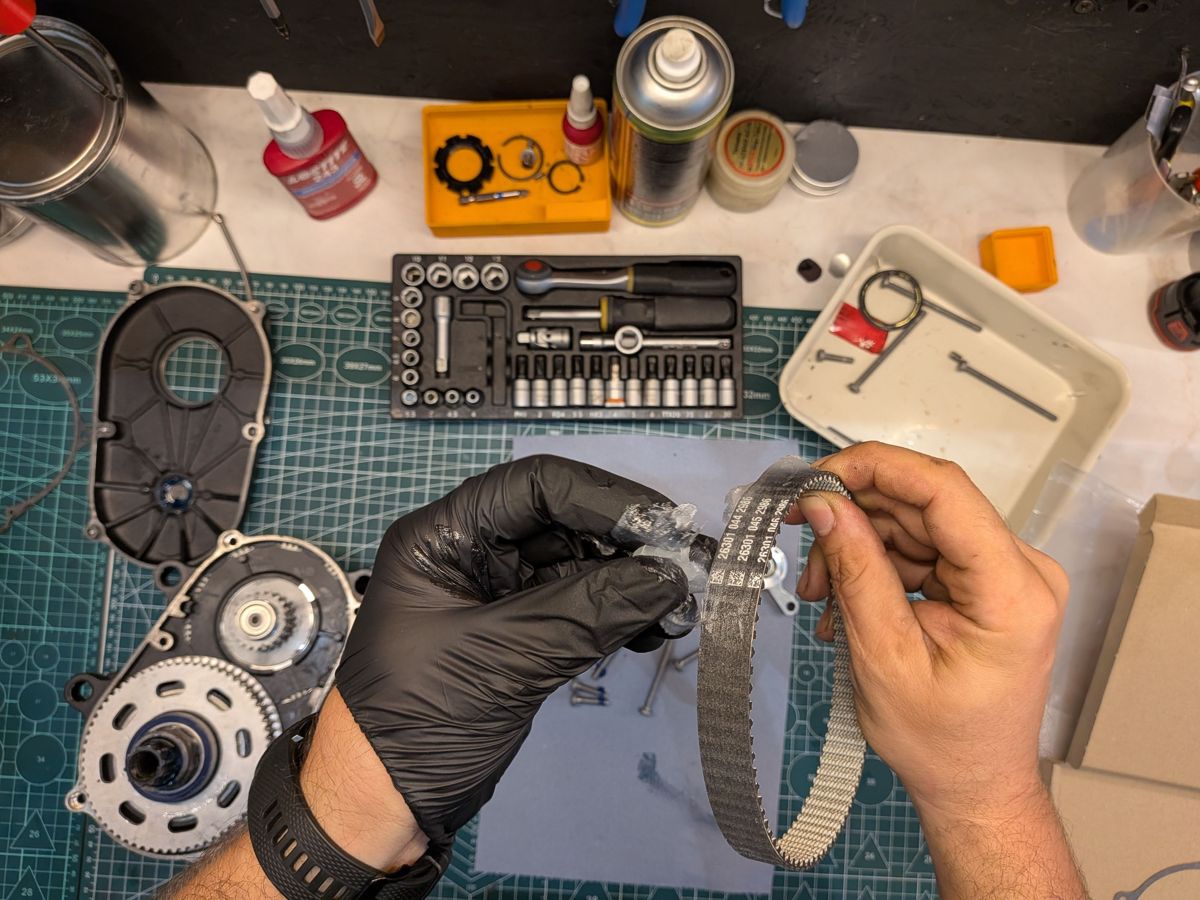
Fit the new belt without kinking it, then put the tension pulley back.
New belt on the pulleysRefit the tension pulley
2. Coat the belt generously with technical vaseline
Coat the belt generously with technical vaseline, inside and outside.
Coat the belt with technical vaseline
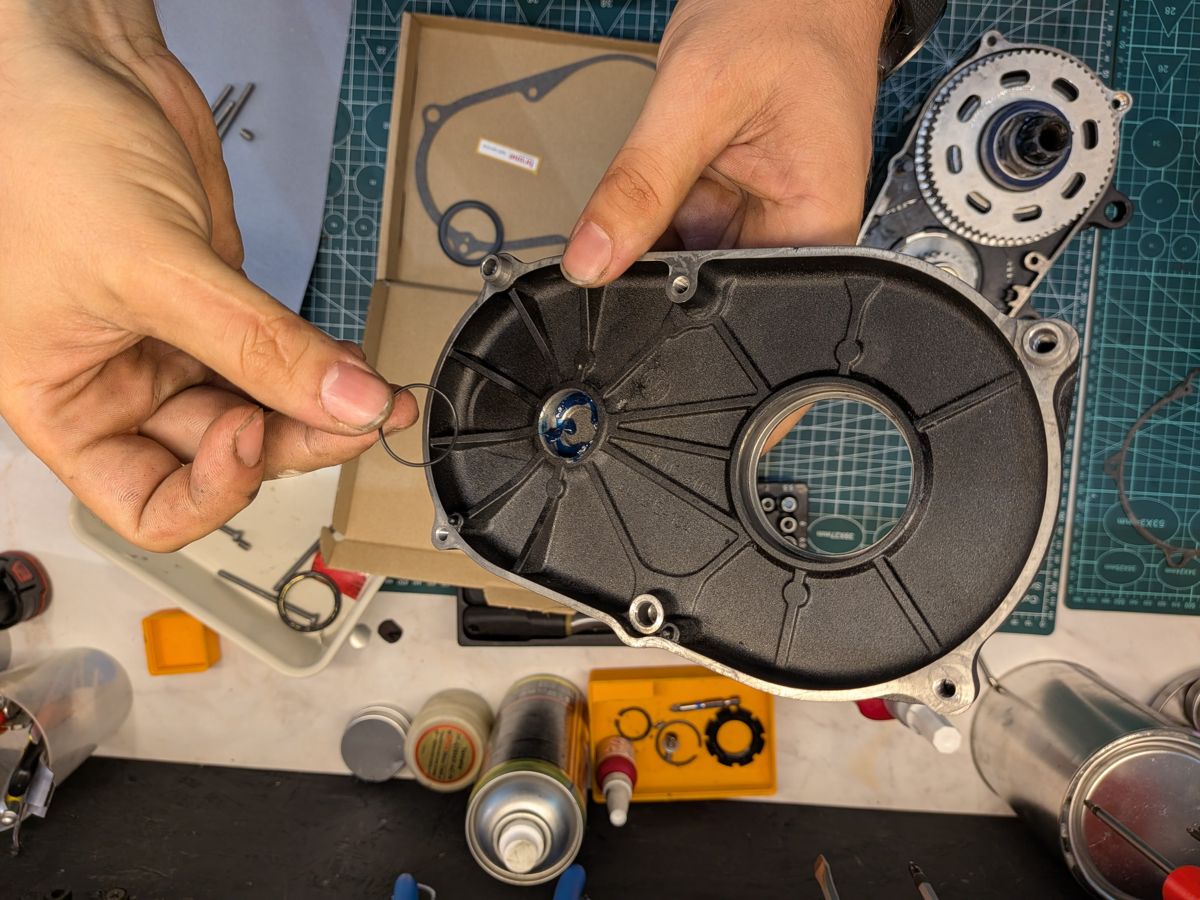
3. Fit the O-ring
Fit the O-ring in the bearing seat of the cover, or replace the old one. Press it all the way to the bottom. Put a little grease in the seat so the O-ring doesn’t fall out.
Fit the O-ring in the cover
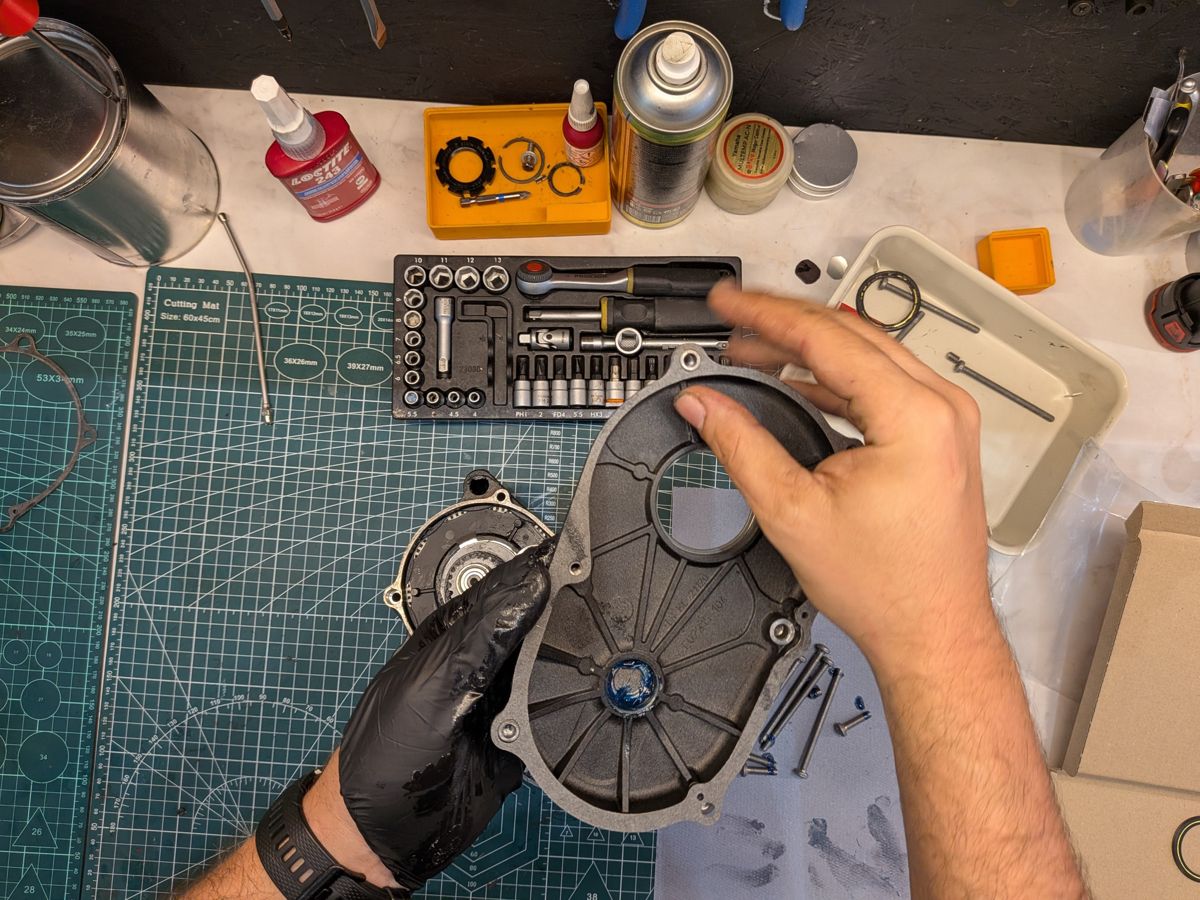
4. Place the new seal on the cover
Place the new seal on the cover and set the cover on the motor without forcing it. It should sit almost flush.
Cover with the new seal
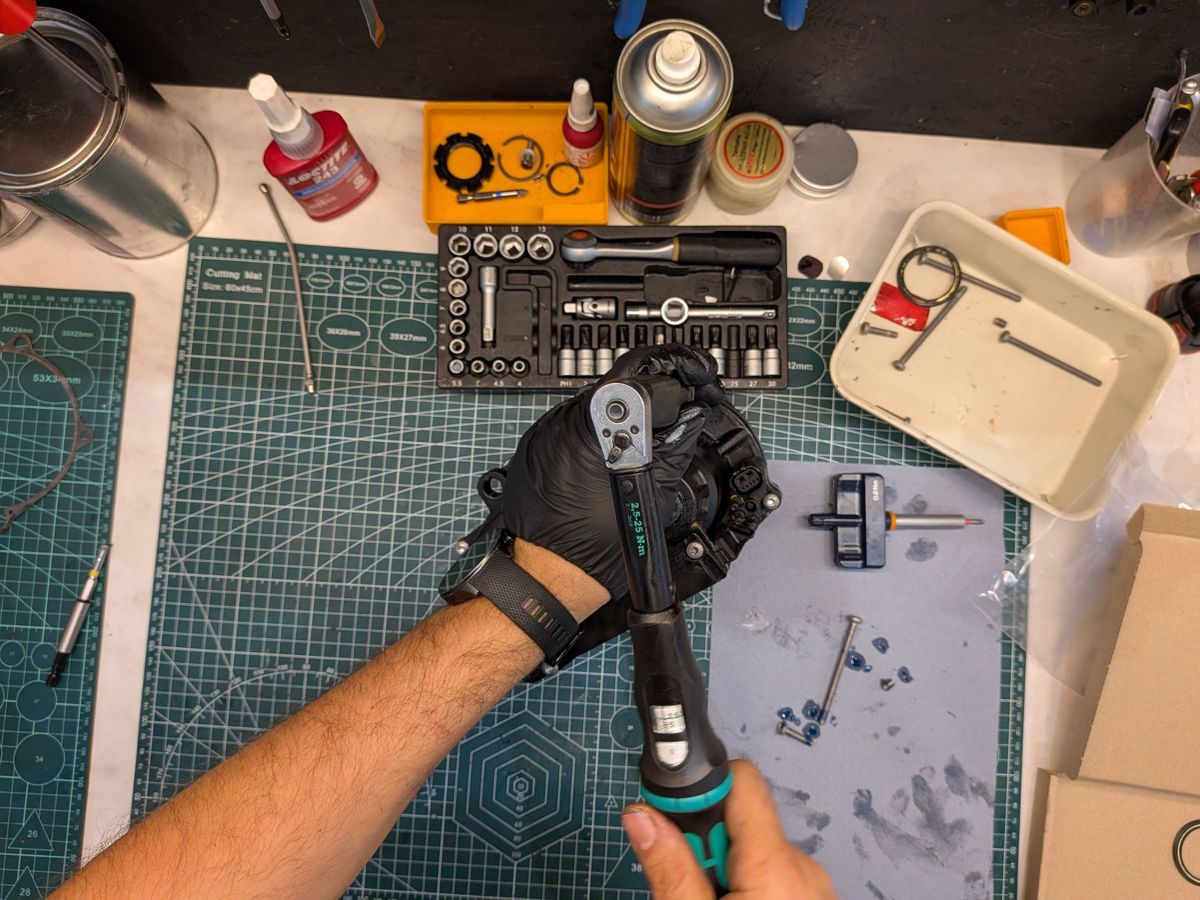
5. Tighten the housing screws
Tighten the housing screws (see the torque table below).
Alu: all 6 screws crosswise at 4.3 ± 0.3 Nm, the 2 long centre screws last.
Mag: Brose specifies 2.0 Nm plus a further 180° turn for the 2 M5x22 screws and 2.5 Nm plus a further 360° turn for the 3 M5x73 screws. Read the BiciFix recommendation below the torque table first.
Tighten the housing screws
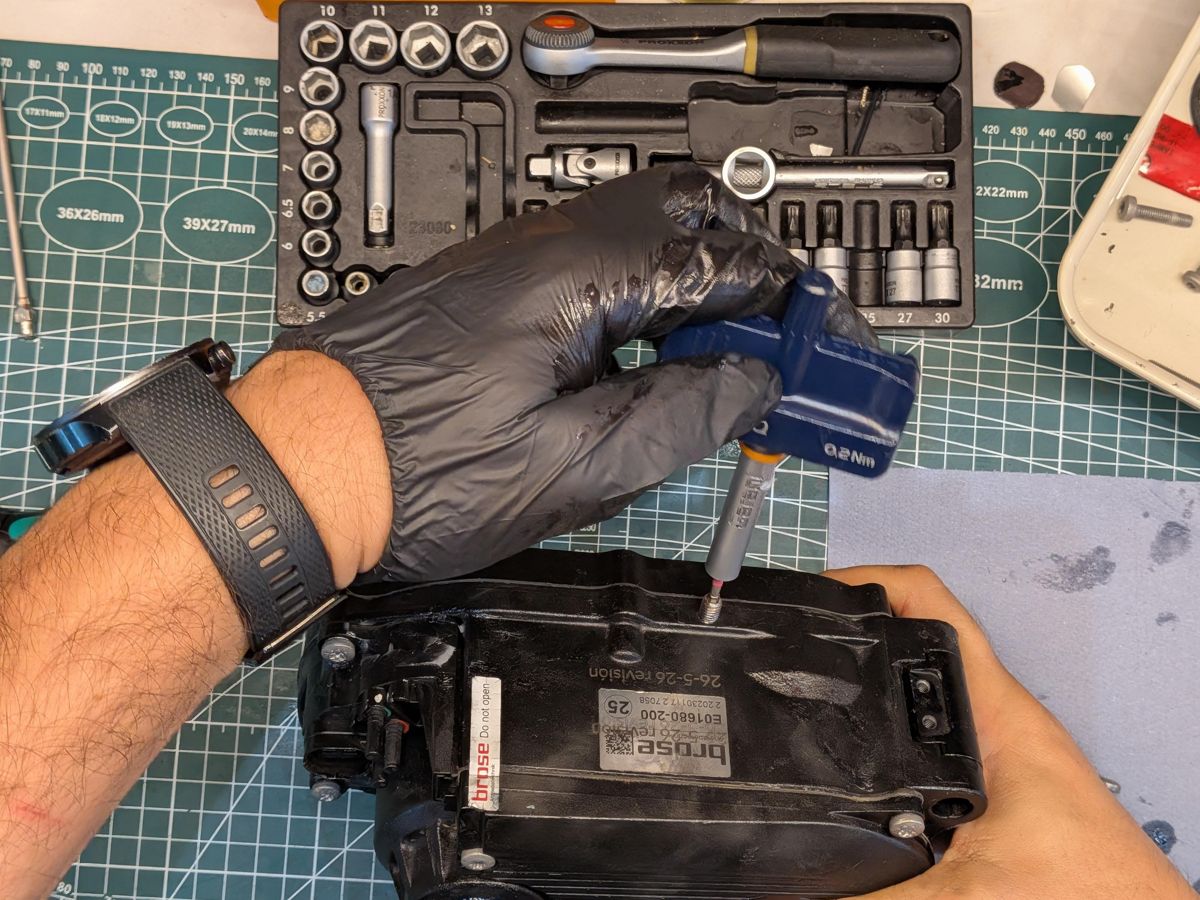
6. Fit the new grub screw
Start it in the hole by hand, add one drop of blue Loctite 243 to the thread, then tighten to 0.2 Nm (20 Ncm).
Grub screw to 0.2 Nm
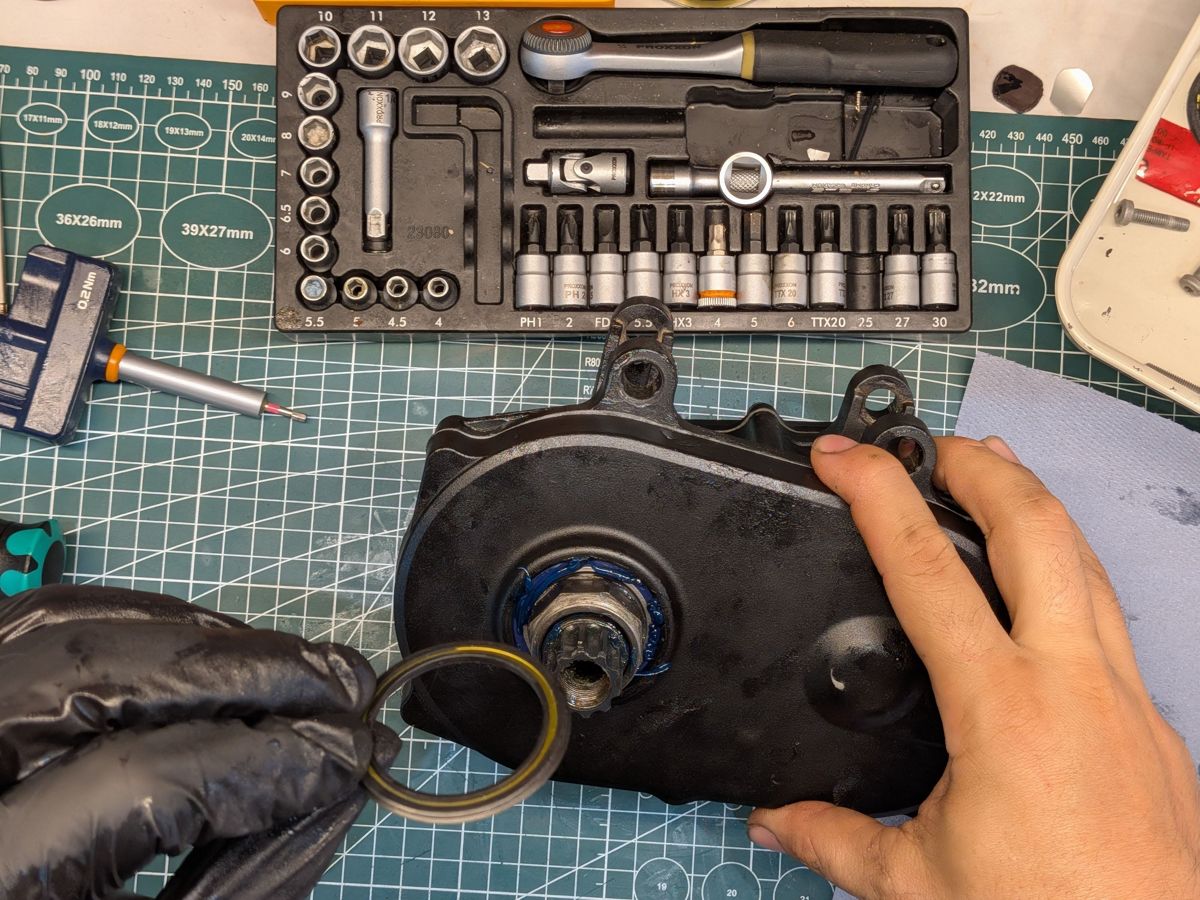
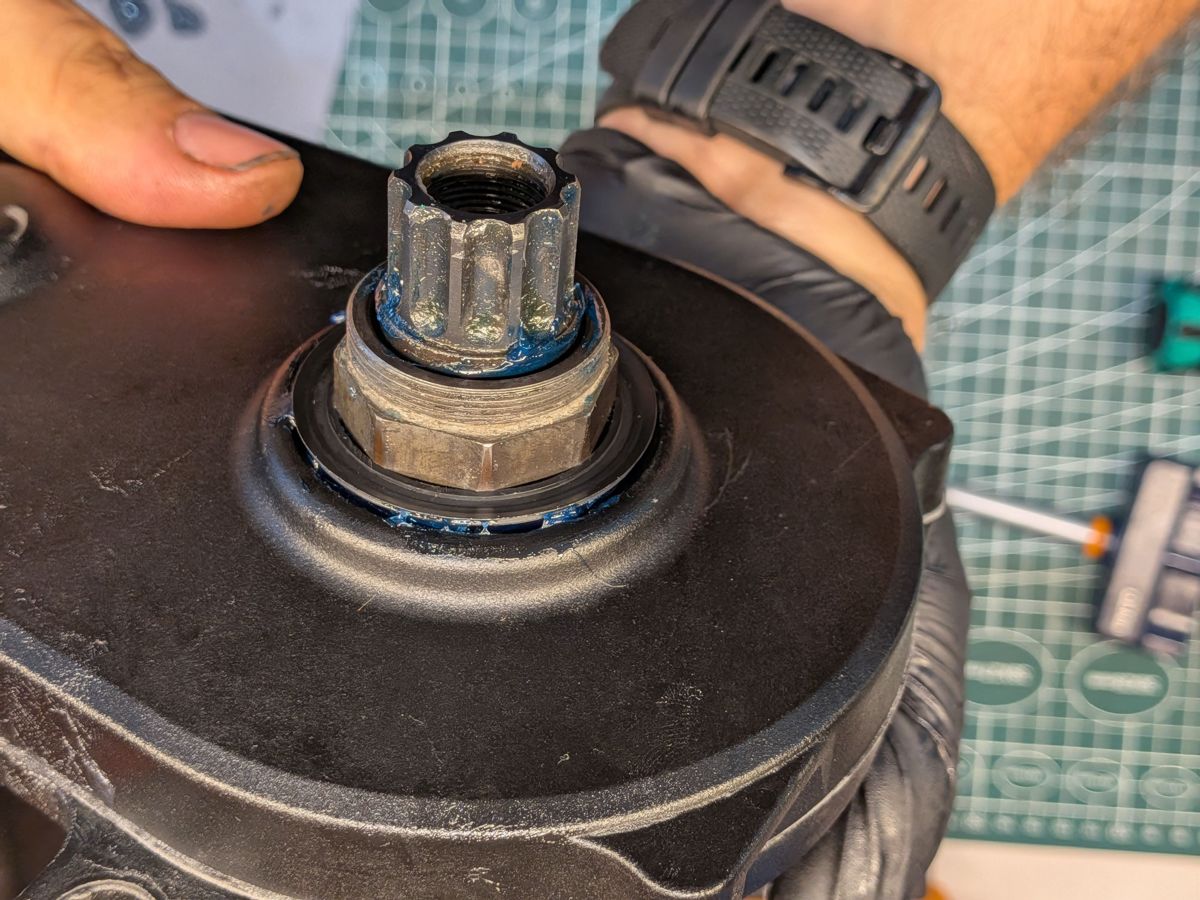
7. Fit the new extra sealing washer
Grease its lip and push it evenly onto the shaft, metal ring facing down.
Fit the new sealing washerSealing washer seated: press it on by hand, or let the chainring seat it
8. Stick on the new guarantee seal
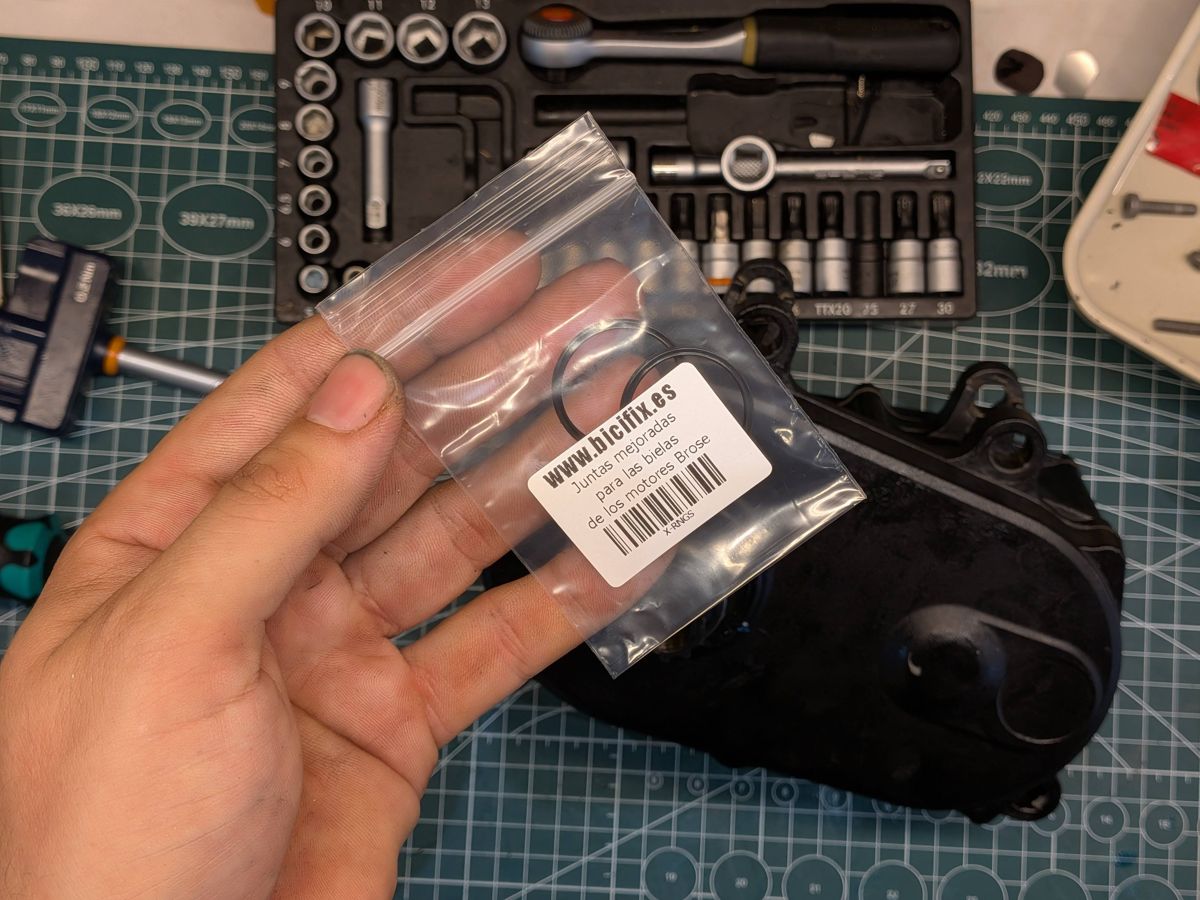
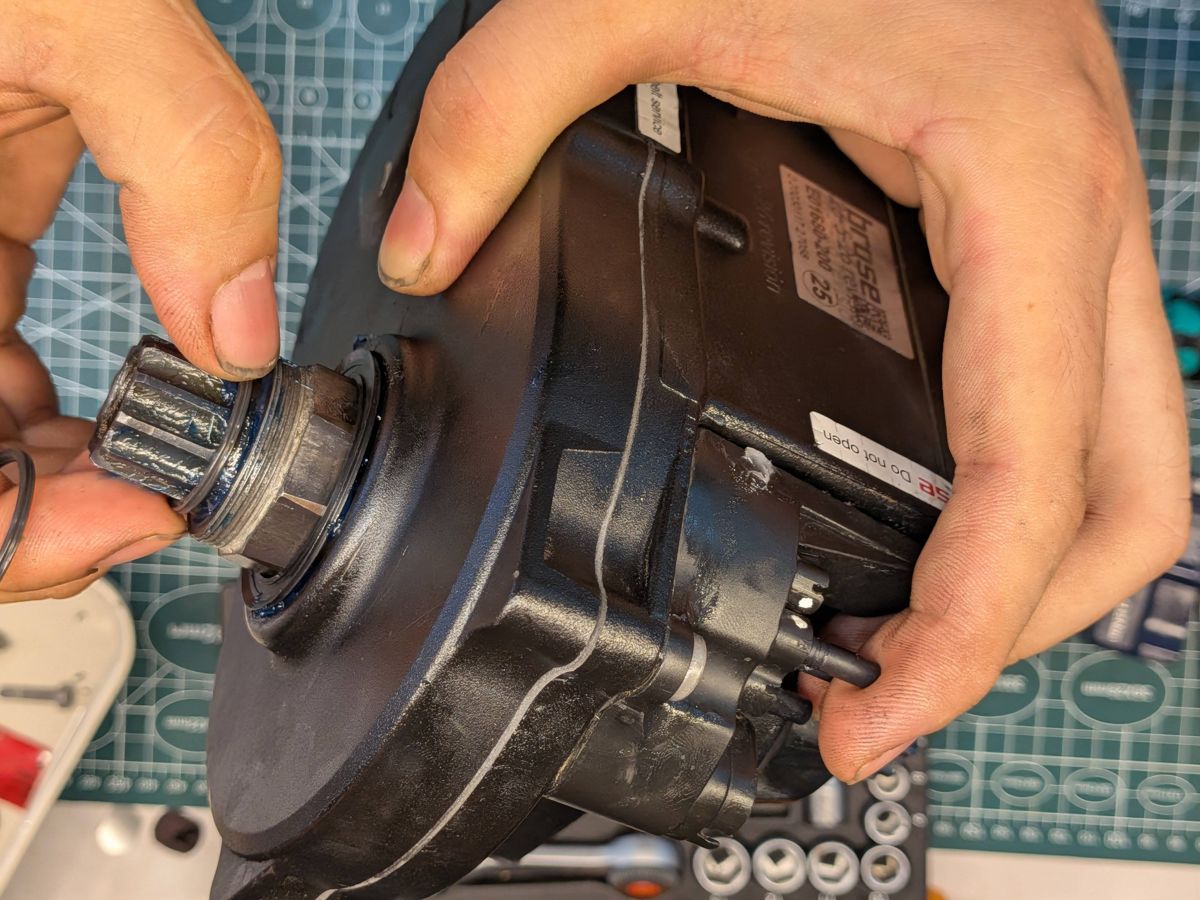
9. Fit new X-ring crank seals
With the motor on the bench, fit our improved X-ring seals on both ends of the crank shaft, one per side. They seal the gap between the crank arms and the motor and help keep water and dirt out of the crank bearings.
Our improved X-ring crank sealsX-ring on the drive sideX-ring on the left side
Torque values
Part
Alu motor
Mag S motor
Housing screws
6 screws, 4.3 ± 0.3 Nm, crosswise
2× M5x22: 2.0 Nm + 180° · 3× M5x73: 2.5 Nm + 360°, in the Brose sequence
Grub screw
0.2 Nm + Loctite 243
0.2 Nm + Loctite 243
BiciFix recommendation for the Mag S housing screws: the Brose values are meant for new motors. We work on used motors, so we apply the manufacturer’s values with care. In most cases it is enough to put Loctite 243 on the housing screws and tighten them to 2.5 Nm plus a 90° turn, instead of the values in the manual.
Loctite 243 on the housing screws
Get the parts
Everything in this guide is available in our shop and ships from Spain: the belt kit for your motor, the 0.2 Nm torque wrench, technical vaseline and Loctite. Or book the belt change in our workshop and we do it for you.
What is the difference between the Brose Alu and Mag S belt change?
The Alu motor (Specialized Turbo Gen1) uses kit E00064-XXX and has 6 housing screws, tightened crosswise to 4.3 ± 0.3 Nm. The Mag S motor (Specialized Turbo Gen2 and Gen3) uses kit E79603-XXX and has 5 housing screws, tightened in the Brose sequence: 2.0 Nm + 180° for the 2 M5x22 screws and 2.5 Nm + 360° for the 3 M5x73 screws (BiciFix recommends Loctite 243 and 2.5 Nm + 90° on used motors).
Why do I need a 0.2 Nm torque wrench?
The grub screw sets the belt tension, so it has to be tightened to exactly 0.2 Nm (20 Ncm), with a drop of Loctite 243.
Can I reuse the housing screws?
On the Alu motor, yes: the 6 housing screws can be reused, and our Alu kit also includes a new set. On the Mag S motor, no: the 5 housing screws are replaced with the new M5x22 and M5x73 screws from the kit. The grub screw is always replaced.
Why does my motor not work after a belt change?
One of the most common reasons is a badly seated connector after the electronics unit was removed. That connector is very hard to refit correctly, so leave the electronics unit in place during the belt change and never take it apart.
To provide the best experiences, we use technologies such as cookies to store and/or access device information. By consenting to these technologies, we can process data such as browsing behavior or unique identifiers on this site. If you do not consent or withdraw your consent, certain features and functions may be affected.
Functional
Always active
The technical storage or access that is used exclusively for anonymous statistical purposes. Without a subpoena, voluntary compliance by your Internet Service Provider, or additional records from a third party, information stored or retrieved for this purpose alone cannot usually be used to identify you.
Preferences
The technical storage or access is necessary for the legitimate purpose of storing preferences that are not requested by the subscriber or user.
Statistics
The technical storage or access that is used exclusively for statistical purposes.The technical storage or access that is used exclusively for anonymous statistical purposes. Without a subpoena, voluntary compliance by your Internet Service Provider, or additional records from a third party, information stored or retrieved for this purpose alone cannot usually be used to identify you.
Marketing
Die technische Speicherung oder der Zugriff ist erforderlich, um Nutzerprofile zu erstellen, Werbung zu versenden oder den Nutzer auf einer Website oder über mehrere Websites hinweg zu ähnlichen Marketingzwecken zu verfolgen.



 Bosch eBike
 Componentes Electricos
 Motores
 Accesorios
 Rodamientos y Piezas internas
 Accessories